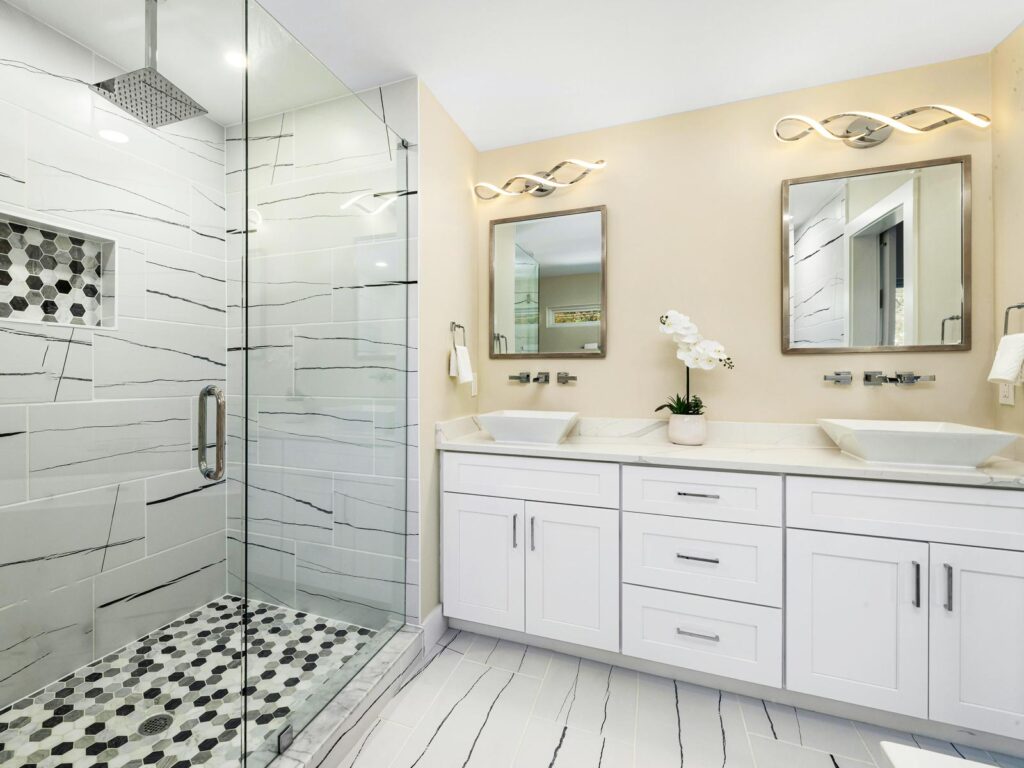
Discover the 8 essential steps for a successful bathroom remodel, from demolition to final touches. Knowing these steps to a bathroom remodel will help make you more informed when hiring a contractor or taking on the job yourself.
Introduction
A bathroom remodel can make a world of difference in your home. Whether you’re doing it for safety, better functionality, or simply to update the look, tackling a remodel step by step ensures that the process stays smooth and manageable. And here’s the great part—you don’t have to sacrifice style for function. With thoughtful planning and a clear roadmap, you can create a beautiful and practical bathroom.
Step 1: Planning Your Bathroom Remodel
The key to any successful bathroom remodel is proper planning. Start by assessing your needs—what’s working in your current bathroom and what’s not? Are you prioritizing accessibility, modernizing the look, or perhaps both? For older homeowners, accessibility features like grab bars, walk-in showers, and lever-style faucets can make a big difference, but they don’t have to compromise on style.
Create a budget
Next, set a realistic budget. Bathrooms can be tricky, and unexpected costs often come up—like plumbing issues hiding behind walls. Make sure you plan for some flexibility in your budget if you are going for a complete remodel.
Consider eco-friendly and aging-in-place upgrades
If you’re planning on aging in place, think about features that will make life easier down the road. For example, higher toilets, no-threshold showers, and anti-slip flooring can all enhance comfort and safety without making the bathroom look institutional. Sometimes eco-friendly involves choosing proven products that last – when natural products that are built to handle the intended environment they can be a great choice.
I worked with a couple who wanted their bathroom to be both beautiful and practical as they aged. We added grab bars and a curbless shower, but we used sleek, modern fixtures that fit their style perfectly. This was also the perfect time to put in a wider door, saving time and money down the road. They were thrilled that they didn’t have to compromise on aesthetics while planning for the future!
Step 2: Demolition
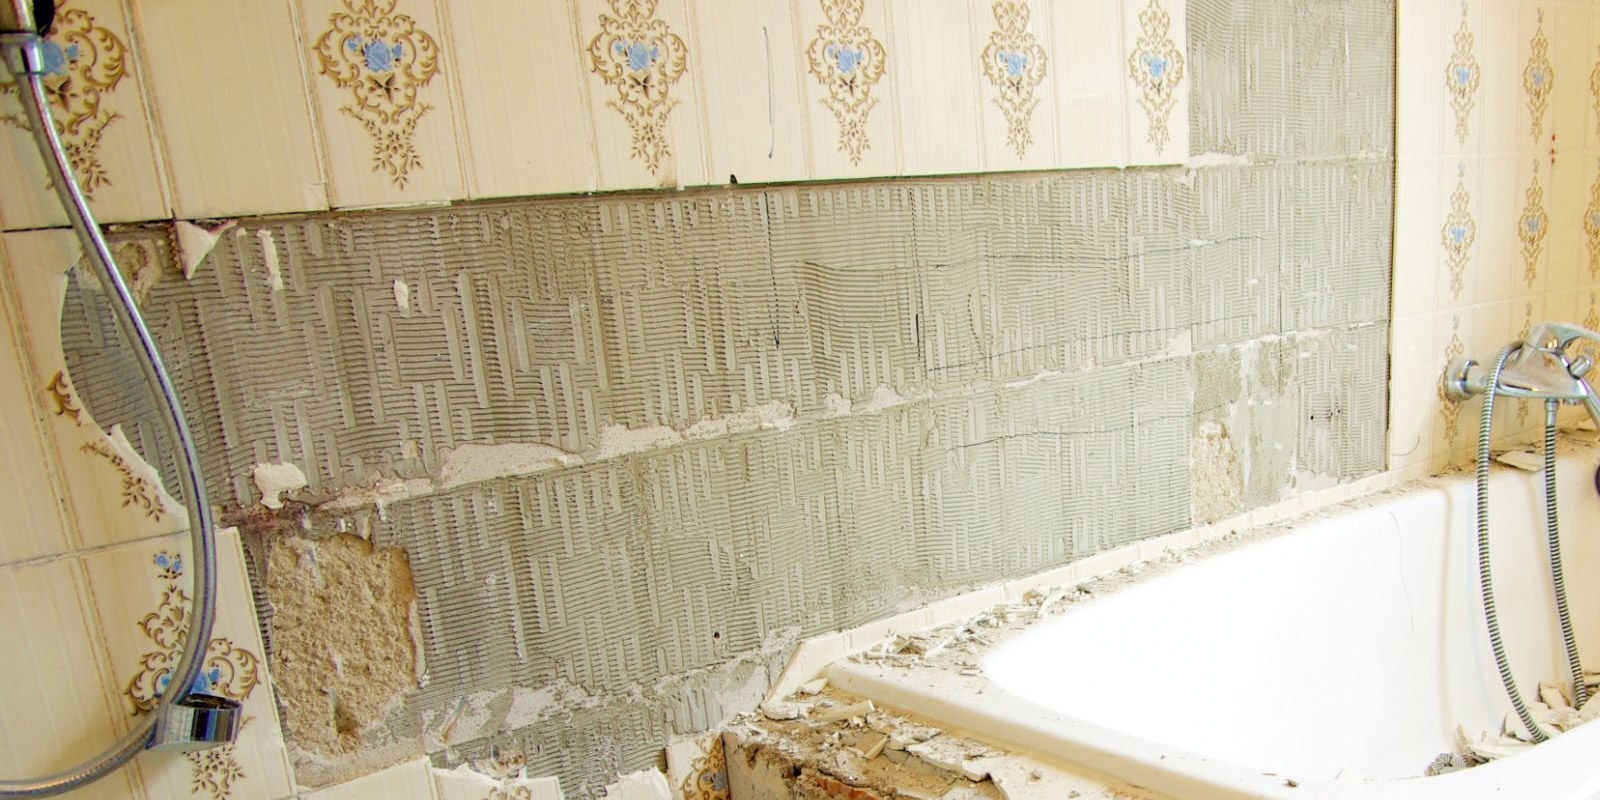
Once the plan is in place, it’s time to start the demo. Before grabbing a hammer, shut off the water and electricity—you don’t want any surprises here!
Remove old fixtures
This includes taking out the toilet, vanity, sink, and any outdated bathtubs or showers. Careful demolition is key—while it might be tempting to go all-out, being mindful of plumbing and electrical lines will save headaches down the road.
Step 3: Rough-In Plumbing and Electrical
Once the space is cleared, it’s time for the rough-in work. This may involve running new plumbing lines for the shower, sink, and toilet, as well as updating the electrical if needed. In older homes, this might be a crucial step if the original systems are outdated and not up to code.
Upgrade electrical and plumbing as needed
If you’re adding new fixtures or moving the layout around, it’s important to bring the plumbing and electrical up to code. This is also a good time to install GFCI outlets (ground-fault circuit interrupters) near any water sources for safety if they are not already installed.
Aging-in-place tip: Installing outlets higher on the wall or in more accessible locations can make life easier, especially for future or unforeseen mobility challenges.
Step 4: Install Shower or Tub
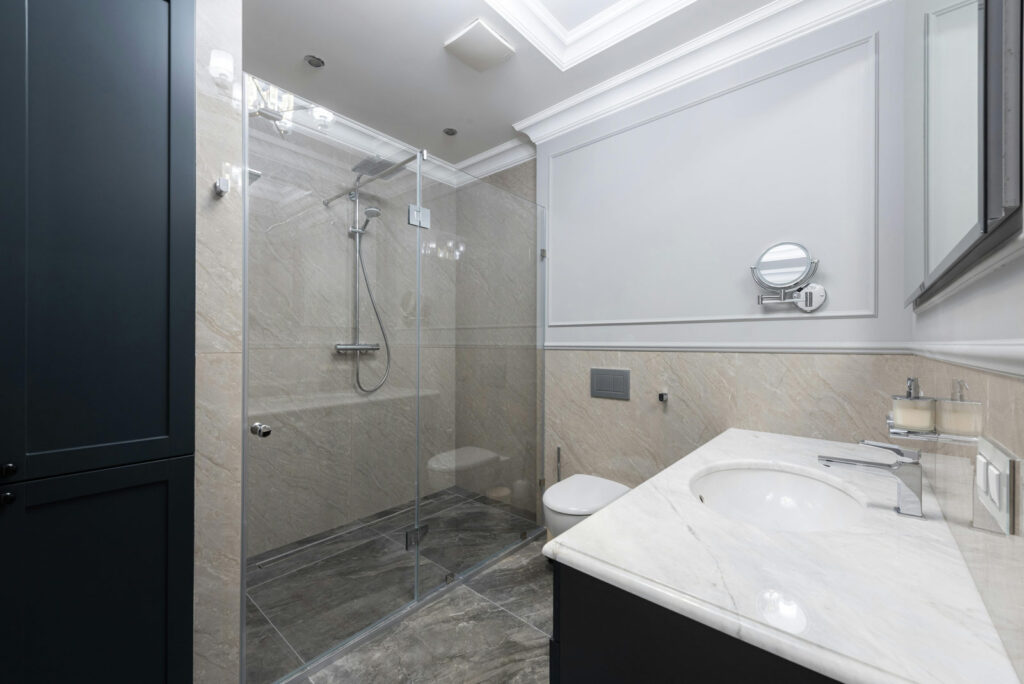
Now it’s time to install a new shower or tub. Many homeowners today are opting for walk-in showers, which eliminate the need to step over a high tub edge—ideal for both safety and modern design.
Waterproofing is critical
One of the most important steps here is making sure the shower area is properly waterproofed. Skimping on this step can lead to leaks and costly repairs down the line.
I had one client who took on the job of bathroom remodeling and soon felt overwhelmed by all the details involved. He and didn’t realize how essential waterproofing. Luckily, he called me up before further work was done and I was able to properly seal the shower walls before the tile was added. Catching the error at this step saved him thousands on a complete tear down of the work within the next year or two.
Shower Tile choices
When selecting tile for the shower or bath area, opt for slip-resistant options. There are plenty of stylish, textured tiles available that can reduce the risk of falls without sacrificing aesthetics. This is especially important if a large format tile is selected due to less grout lines. Porcelain is generally a better choice compared to ceramic and can be similar in price.
Step 5: Flooring Installation
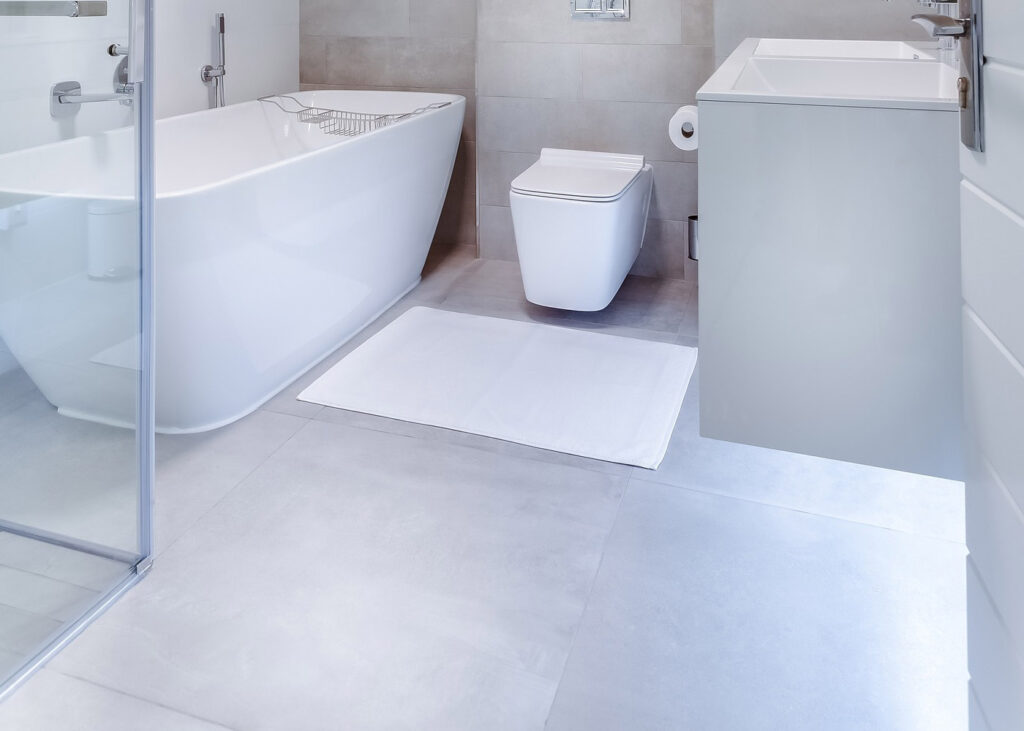
Next up is the flooring. Bathrooms are high-moisture areas, so choosing the right material is essential.
Best flooring options for safety
Non-slip tiles or vinyl flooring are great choices for bathroom floors. These materials offer durability and safety, which is especially important for older adults. They’re also easy to clean and maintain, which is an added bonus. Most Luxury Vinyl Flooring is not truly waterproof but water-resistant at the joints – keep this in mind when browsing for options. Porcelain tile is usually the best choice for longevity and style if your budget allows.
DIY vs. professional installation
Though with a decent amount of experience and having the correct materials selected, a homeowner may chose to take on a project this size, keep in mind how much time you have available outside your own work and free time. Having an extra bathroom may make this a more feasible option. Generally, a project of this size and importance needs to be done by a professional, the attention to detail and proper execution of numerous details is necessary for a successful remodel.
Step 6: Wall Prep and Painting
Unless you are choosing tile for the walls of your bathroom, drywall is an easy choice for walls. Start by gathering your tools, such as a tape measure, utility knife, screw gun, and joint compound. Measure the walls and cut the drywall sheets using a utility knife and T-square. Position the drywall against the wall and secure it with screws every 16 inches along the edges. Stagger the joints and cut out openings for electrical outlets.
Tape the joints with joint tape and apply a thin layer of joint compound, feathering the edges. After the compound dries, sand it down, applying additional coats as needed. For outside corners, attach corner beads and cover them with joint compound. Once everything is dry, sand again, then prime and paint the surface for a finished look. It seems simple to most, but allowing a professional to do the work will likely save you time and a whole lot of headaches!
Choosing the right paint
When it comes to paint, opt for a mildew-resistant formula. Bathrooms are prone to moisture, and mildew-resistant paint will help protect your walls in the long run. If painting over new drywall a special primer paint is needed for proper performance. An all-in-one paint and primer coating is not a substitute for a true primer coat.
Step 7: Installing Vanity, Toilet, and Fixtures
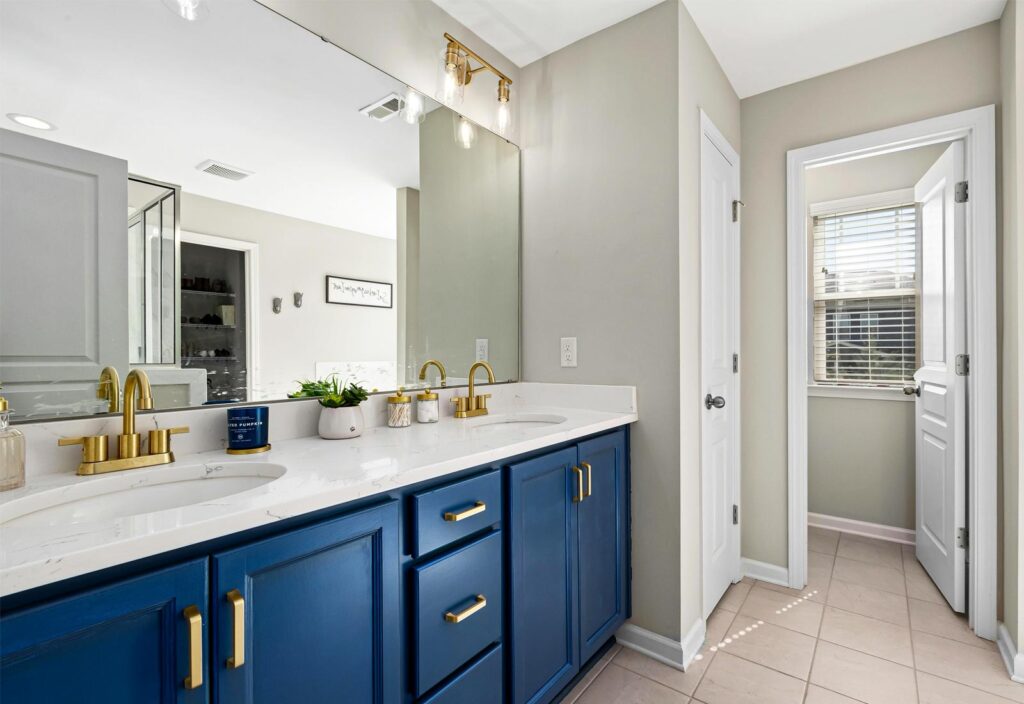
With the walls painted and dry, it’s time to install the vanity, toilet, and other fixtures.
Comfort-height toilets
If you’re aiming for a bathroom that’s more accessible, a comfort-height toilet is a must. These are slightly taller than standard toilets, making it easier to sit down and stand up.
Choosing the right vanity
Those planning to enjoy their home many years down the road will plan to choose a vanity that offers both ample storage and easy access. You don’t want to be constantly bending down to reach under the sink. Consider a vanity with drawers or pull-out shelves for easier access.
Install faucets and fixtures
When it comes to faucets, lever-style handles are a great choice. They’re easier to use, especially for anyone with arthritis or limited hand strength, and come in plenty of stylish designs.
Step 8: Final Touches
The final step is all about the finishing details.
Caulk and seal everything
Make sure to caulk around the tub, sink, and any other fixtures to keep water from seeping into places it shouldn’t.
Install hardware
This includes things like cabinet handles, towel bars, and any shelving. It’s these small details that will really make the bathroom feel complete.
Final check
Before you finish up, double-check that everything is working properly. Test the plumbing, check for any electrical issues, and make sure all the fixtures are secure.
Knowing these steps to a bathroom remodel will make you more informed when hiring a contractor or taking the job on by yourself. By breaking it down into manageable steps—planning, demolition, plumbing, electrical, flooring, painting, and final touches—your space will transform into something that’s both beautiful and functional. And remember, with the right approach, you can have safety and accessibility without sacrificing style!
Why Invest in a Bathroom Remodel Now?
A well-planned bathroom remodel offers more than just a fresh, updated look—it enhances the safety, accessibility, and long-term value of your home. For older adults, this can mean greater independence, especially when you incorporate aging-in-place features like walk-in showers, comfort-height toilets, and non-slip flooring. These upgrades reduce the risk of falls and make everyday routines much easier.
Investing in a bathroom renovation now ensures you create a space that works for your needs today and in the future. Whether you’re thinking about resale value or your own long-term comfort, a thoughtful remodel can provide lasting benefits, both aesthetically and functionally.

Check out our more GGC Articles:
- Unlock the Potential & Turn Your Garage to a Fantastic Space: Garage Renovation
- Stunning & Functional New Bathroom Addition for Your Home: GGC Accessible Bathroom
Universal Design: Universal Design Network

0 Comments