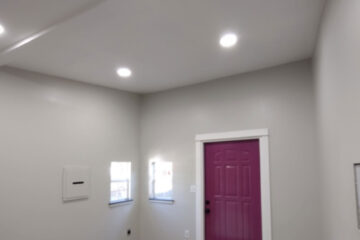
Converting this bare area into a stunning new bathroom was an exciting endeavor. The design features, including a curbless shower with a linear drain, a pocket door, and a pony wall, were thoughtfully implemented to maximize both functionality and aesthetics. Innovative approaches were taken to adapt to the unique layout, with extra care given to ensuring the spacious curbless shower was both practical and visually appealing.
Curbless Shower with Thoughtful Design
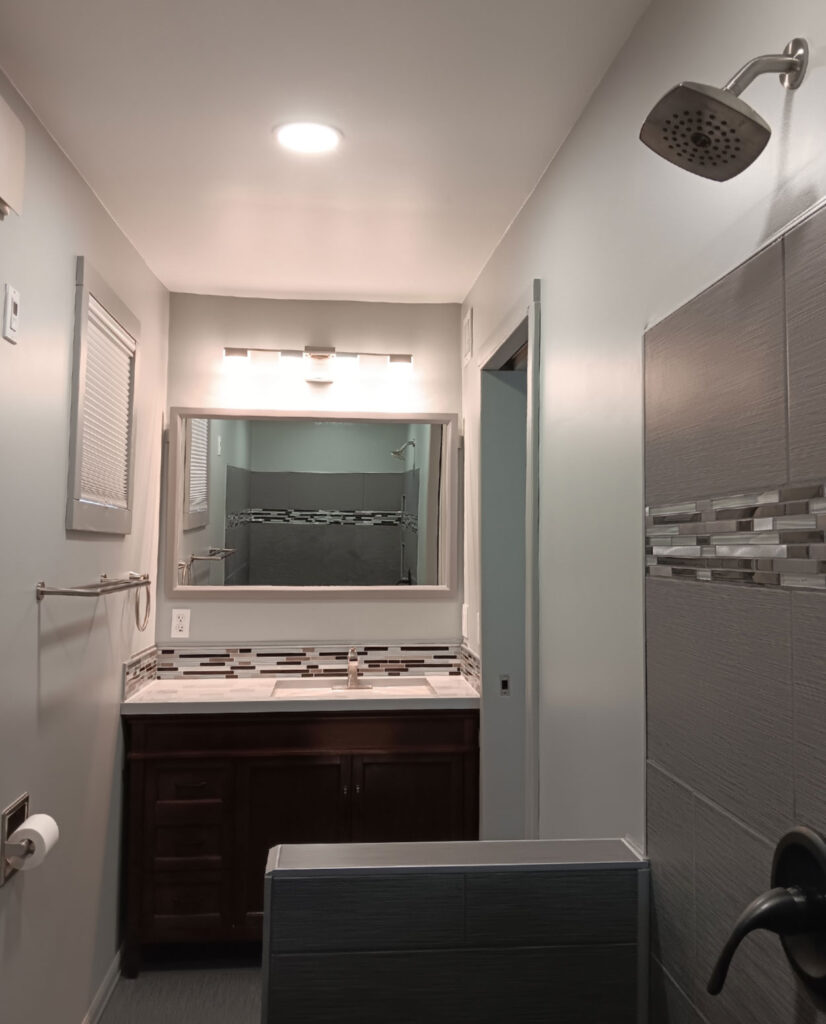
The curbless shower became the centerpiece of the bathroom. A full-width stainless-steel linear drain allowed us to use large 12″x24″ tiles. These were laid flat to create a straight sloped floor, reducing grout lines for easier cleaning.
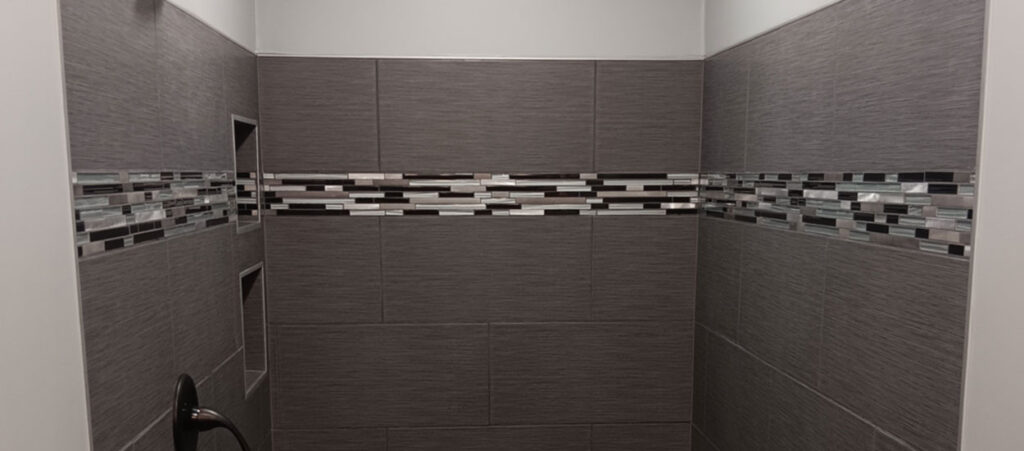
We added two shower niches to provide storage without clutter. For added comfort, a spacious bench was constructed, offering a relaxing spot in the shower. A pony wall was also installed to separate the shower from the toilet area, removing the need for a shower curtain. We enhanced the look with a glass mosaic tile accent, which added a touch of luxury.

Elegant Vanity and Polished Countertop
Our vanity options were limited, but we found a mahogany veneer vanity on sale that was just right. To protect it from humidity, I applied two extra coats of lacquer to all exposed wood after sanding and cleaning it thoroughly.
The countertop was crafted from polished tile to create a marble-like appearance. An undermount sink completed the look, providing both elegance and practicality. I used an epoxy coating on the sink to seamlessly connect the accents to the tile, creating a smooth finish. We continued the mosaic tile from the shower to the backsplash, creating a cohesive, luxurious feel.
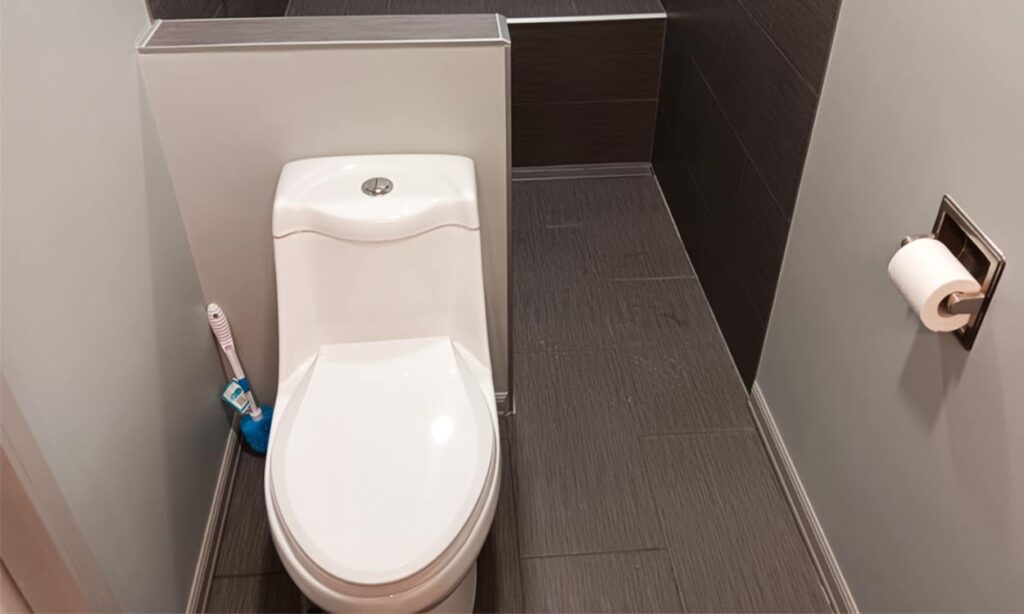
Enhanced Lighting and Space-Saving Pocket Door
We used recessed lights and a vanity bar, connected to a dual dimmer switch for customizable brightness. A pocket door with latching hardware saved space and maintained a sleek look.
To open up the area, we added a large, full-width mirror. We installed an in-wall fan with a programmable humidistat to control humidity levels. Additionally, a compact Jeld-Wen window, purchased from a Habitat for Humanity store, provided natural light and came with a cordless shade for privacy.
Waterproofing and Tile Installation
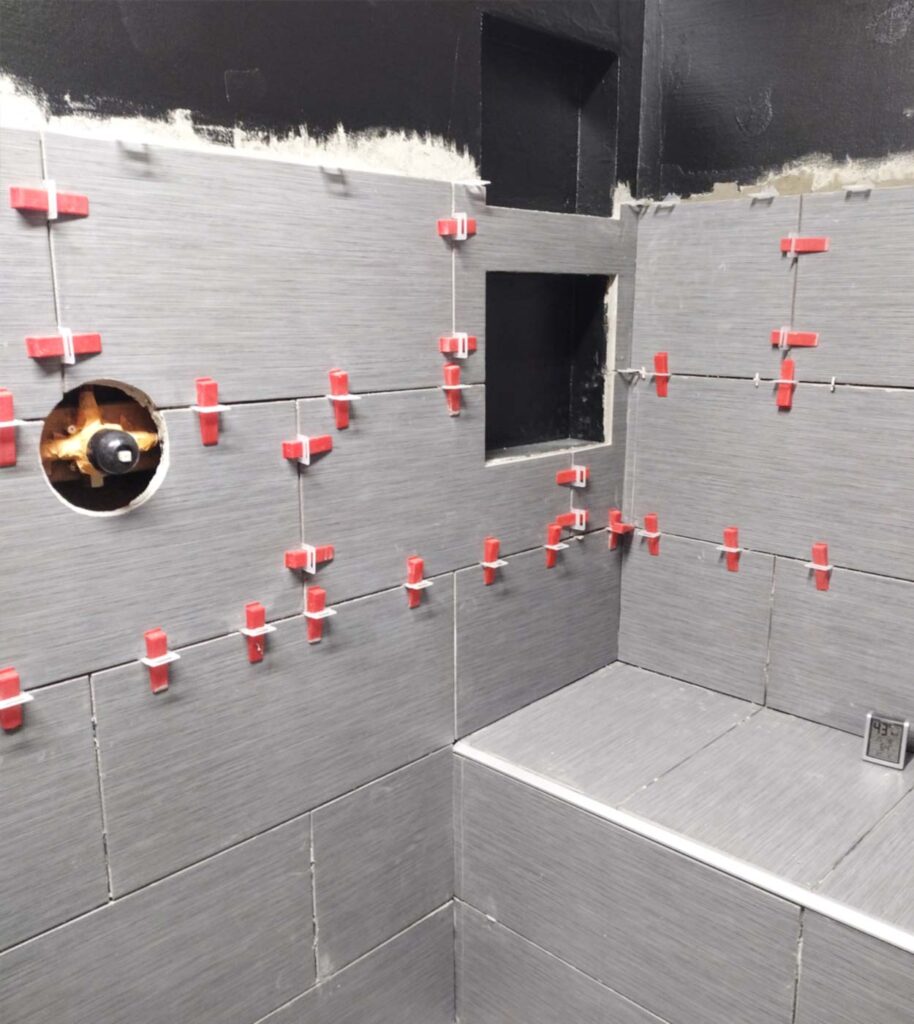
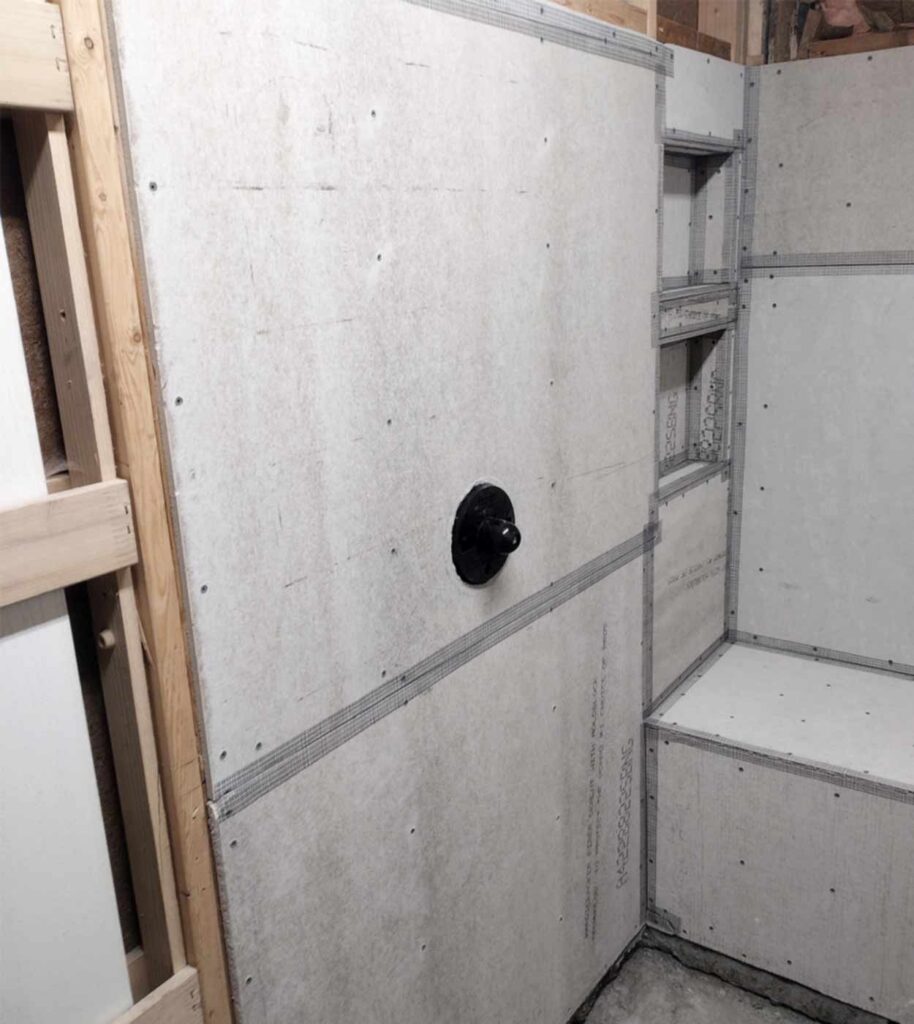
We prepped for tile installation by securing cement board with appropriate screws. All corners, edges, and screw heads were then covered with alkali-resistant tape and thinset mortar. For added protection, we applied two layers of waterproofing membrane.
Next, we aligned and set the mosaic tiles carefully to ensure uniform grout lines. After grouting, a sealer was applied to protect the tiles and make cleaning easier.
Check out this page on Bedrooms for more accessibility upgrades!
Universal Design: Universal Design Network
